
West Bend Bread Machine Manual: A Comprehensive Guide
This guide offers detailed instructions for West Bend bread makers, covering setup, operation, troubleshooting, and recipes – ensuring perfect loaves every time!
Download manuals from Manualzz, Sears Parts Direct, and explore model-specific guides like the 41073 and 47413 for optimal use.
Understanding Your West Bend Bread Machine
West Bend bread machines are designed for convenient, homemade bread. Familiarizing yourself with its components is key. These machines automate kneading, rising, and baking, simplifying the bread-making process.
Key features include a non-stick bread pan, a kneading paddle, and a user-friendly control panel. Understanding the purpose of each part – from the heating element to the viewing window – enhances operation. Before first use, a burn-off cycle is recommended to eliminate manufacturing residues, ensuring a clean baking environment.
Proper usage and maintenance, guided by the manual, will maximize your machine’s lifespan and bread quality.
Model Numbers and Variations
West Bend produced various bread machine models over the years, each with slight differences. Common models include the 41073, 41063, 41040, 47413, and L5141. While core functionality remains consistent, cycle options and control panel layouts can vary.
Specific manuals are tailored to each model number, ensuring accurate instructions. Variations may include loaf size capacity (1.5 lb) and pre-programmed cycles. Identifying your exact model is crucial for downloading the correct manual and accessing compatible replacement parts.
Referencing the model number guarantees optimal performance and safety.
Control Panel Overview
West Bend bread machine control panels typically feature buttons for cycle selection, crust color, and start/stop functions. Key functions include ‘Basic’, ‘Dough’, and potentially ‘Whole Wheat’ or ‘Sweet’ settings. The control panel displays cycle status and often includes a timer;
Understanding these controls is vital for successful bread making. The ‘Basic’ cycle is for standard loaves, while ‘Dough’ is for recipes requiring manual shaping. Refer to your model’s manual for specific button descriptions and cycle durations.
Proper use ensures consistent results.
Key Functions and Buttons
Essential buttons include ‘Start/Stop’ to initiate or halt cycles, ‘Menu’ or ‘Cycle Select’ to choose programs like ‘Basic’, ‘Dough’, or ‘Sweet’. ‘Crust Color’ adjusts browning levels – light, medium, or dark. A ‘Timer’ function allows delayed starts.
Additional buttons may include ‘Whole Wheat’ for denser loaves and potentially ‘Rapid’ for faster baking. Understanding each button’s purpose, as detailed in your manual, is crucial. Incorrect settings can affect bread texture and rise.
Familiarize yourself with these controls for optimal results.
Initial Setup and Preparation
Before first use, a crucial ‘burn-off’ cycle is recommended. Add one cup of water to the bread pan and run a full ‘Bake’ cycle with the lid open. This eliminates residual manufacturing oils and odors, ensuring a clean baking environment.
Carefully assemble the bread pan and kneading paddle, ensuring they are securely locked into place. Incorrect assembly can prevent proper kneading or damage the machine. Refer to your model’s manual for specific instructions.
Proper preparation guarantees optimal performance.
First-Time Use: Burn-Off Cycle
The initial burn-off cycle is vital for removing any lingering manufacturing oils or potential odors from your new West Bend bread machine. Simply add one cup of water into the bread pan and position it securely within the baking chamber.

With the lid left open, select the ‘Bake’ setting – specifically, a full cycle – and initiate the process. This ensures thorough cleaning. Do not add any bread ingredients during this cycle; it’s purely for machine preparation.
Bread Pan and Paddle Assembly
Proper assembly of the bread pan and paddle is crucial for successful baking. Ensure the paddle is securely fitted onto the drive shaft within the bread pan. It should click or lock into place, allowing free rotation but preventing detachment during kneading.
Carefully slide the assembled bread pan into the bread maker’s baking chamber, ensuring it sits flush and engages correctly with the drive mechanism. Incorrect placement can lead to uneven kneading or prevent the machine from operating correctly.
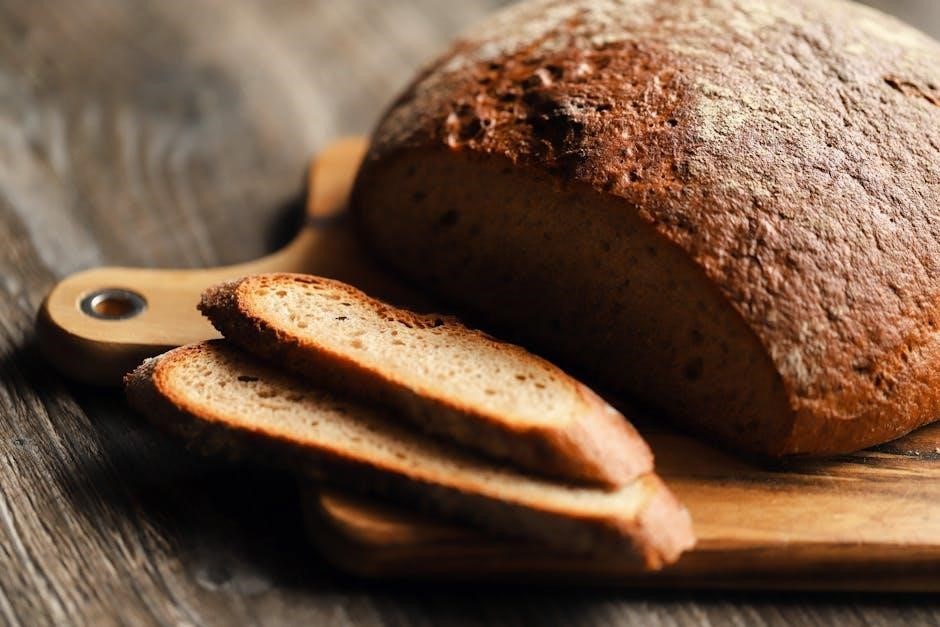
Basic Bread Making Process
Begin by accurately measuring ingredients – flour, water, yeast, sugar, and salt – following your chosen recipe. Ingredient order is vital; typically, liquids first, then dry ingredients, with yeast added last, avoiding direct contact with salt.
Select the appropriate cycle on your West Bend machine, such as ‘Basic’ for standard loaves or ‘Dough’ for rising elsewhere. Press start, and the machine will automatically knead, rise, and bake your bread, delivering fresh-baked goodness!
Ingredient Measurement and Order
Precise measurement is crucial for bread machine success. Use dry measuring cups for flour and dry ingredients, and liquid measuring cups at eye level for liquids. Ingredient order matters: generally, add liquids first, followed by dry ingredients.
Crucially, create a small well in the dry ingredients for the yeast, ensuring it doesn’t directly contact the salt, which can inhibit its activity. This layering technique promotes even distribution and optimal rising.
Cycle Selection: Basic, Dough, etc.
West Bend bread machines offer various cycles for diverse baking needs. The Basic cycle is ideal for standard loaves, while the Dough cycle prepares dough for baking in a conventional oven.
Explore options like Whole Wheat, Sweet, and potentially Rapid or French bread cycles, depending on your model. Refer to your manual for cycle durations and recommended ingredient combinations for best results.
Advanced Features and Cycles
West Bend bread machines boast advanced cycles beyond basic bread making. The Whole Wheat cycle adjusts kneading and rising times for denser loaves, while the Sweet Bread cycle accommodates higher sugar and fat content.
Some models may include options for gluten-free baking, or specialized cycles for cakes and jams. Experiment with these features to expand your baking repertoire, always consulting your manual for specific instructions and ingredient guidelines.
Whole Wheat Cycle
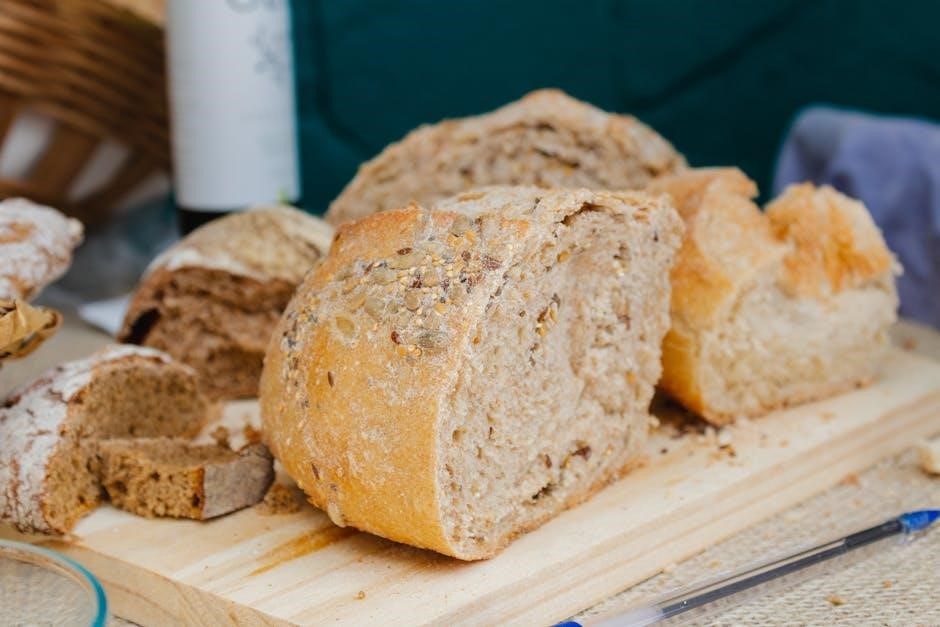
The Whole Wheat cycle on your West Bend bread machine is specifically designed for recipes containing a significant amount of whole wheat flour. This cycle features extended kneading times to develop gluten, crucial for the denser nature of whole wheat.
It also incorporates longer rising periods, allowing the dough to fully proof. Refer to your manual for recommended flour-to-liquid ratios, as whole wheat absorbs more liquid than white flour, ensuring a successful and flavorful loaf.
Sweet Bread Cycle
The Sweet Bread cycle is tailored for enriched doughs containing higher sugar and fat content, like brioche or cinnamon swirl bread. This setting utilizes a gentler kneading process to avoid overdeveloping the gluten, resulting in a softer texture.
It also includes a longer, slower rise, allowing the flavors to meld and the dough to achieve optimal volume. Always check your manual for specific ingredient limitations and recommended pan sizes for best results.
Troubleshooting Common Issues
Encountering problems? Common issues include kneading difficulties – ensure proper ingredient order and hydration. If bread doesn’t rise, check yeast freshness, water temperature, and avoid drafts. A collapsed loaf may indicate too much liquid or over-proofing.
Refer to your manual for specific error codes and solutions. Remember to always use the correct cycle for your recipe and avoid opening the lid during baking to maintain consistent temperature.
Kneading Problems
If the dough isn’t kneading properly, verify the ingredients are added in the correct order – liquids first, then dry ingredients, with yeast last. Insufficient liquid or too much flour can cause a stiff dough that struggles to knead. Conversely, excessive liquid results in a sticky, unmanageable mixture.
Ensure the paddle is securely attached. Check the dough consistency mid-cycle; a slight adjustment of flour or water may be needed. Refer to your manual for specific troubleshooting steps.
Bread Not Rising
If your bread isn’t rising, the most common culprit is old or inactive yeast. Always check the expiration date and proof the yeast with warm water and sugar before adding it to the machine. Incorrect temperature – too cold or too warm – can also hinder yeast activity.
Ensure the machine’s heating element is functioning correctly. Avoid opening the lid during the rising cycle, as this releases heat and can collapse the dough. Consult your manual for specific cycle times and troubleshooting advice.
Cleaning and Maintenance
Regular cleaning extends your West Bend bread machine’s lifespan. Always unplug the machine before cleaning. The bread pan and paddle are typically non-stick and can be washed with warm, soapy water. Avoid abrasive cleaners that could damage the coating.
Wipe the exterior with a damp cloth. For stubborn residue, a mild degreaser may be used. Ensure all parts are completely dry before reassembling. Refer to your manual for specific cleaning recommendations for your model.
Cleaning the Bread Pan and Paddle
Remove the bread pan and paddle after each use. Wash them in warm, soapy water; they are often non-stick coated. Avoid using abrasive scouring pads or harsh detergents, as these can damage the surface. Stubborn residue may require soaking in warm water before washing.
Ensure the paddle is securely attached to the shaft before reinserting it into the machine. Dry both components thoroughly before storing or using them again. Proper cleaning prevents buildup and ensures optimal performance.
Exterior Cleaning
Wipe down the exterior of your West Bend bread machine with a damp cloth. Avoid immersing the machine in water or any other liquid. Use mild dish soap if necessary, but ensure no soap enters the machine’s interior.
Regularly clean the control panel with a soft, dry cloth to remove any crumbs or spills. Do not use abrasive cleaners, as they can damage the finish. Maintaining a clean exterior prolongs the machine’s lifespan and appearance.
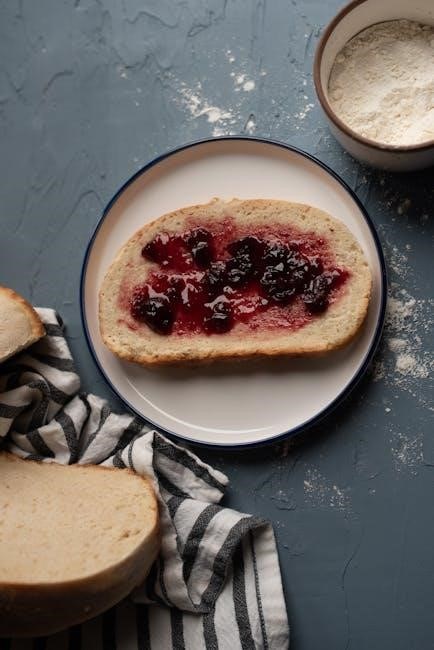
Recipe Adaptations and Customization
Experiment with your West Bend bread machine recipes! Adjust ingredient quantities carefully, starting with small changes to maintain dough consistency. Adding fruits, nuts, and seeds enhances flavor and texture – typically ¼ to ½ cup is ideal.
Consider liquid adjustments for different flours; whole wheat often needs more. Monitor the dough during kneading, adding small amounts of flour or liquid as needed. Record your successful modifications for future baking!
Adjusting Ingredient Quantities
Precise measurements are key, but slight adjustments can personalize your loaves. Increase yeast for faster rising, especially in colder environments, but avoid overdoing it. Reduce sugar for less sweetness or a tangier flavor profile.
Alter flour amounts cautiously; too much creates dry bread, too little, a sticky mess. Start with small changes – a tablespoon at a time – and observe the dough’s consistency. Document your adjustments for repeatable results!
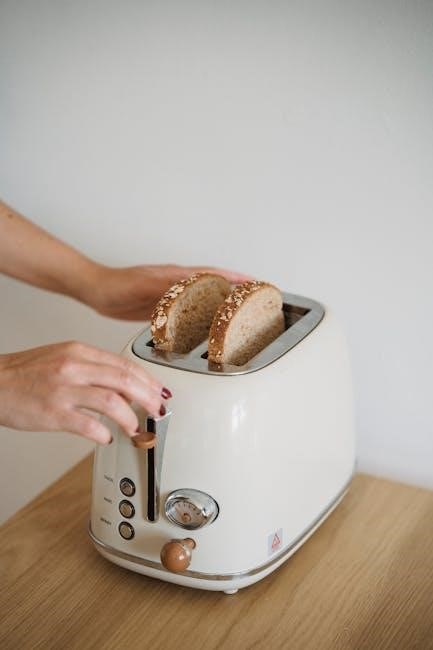
Adding Fruits, Nuts, and Seeds
Enhance your bread with additions! Add fruits (raisins, cranberries) and nuts (walnuts, pecans) during the second kneading cycle, signaled by the beeper. Seeds (sunflower, flax) can be added with the dry ingredients initially.
Avoid overloading – generally, limit additions to 1-1.5 cups for a 1.5lb loaf. Chopped ingredients distribute better. Be mindful that additions can affect rising time; monitor closely for optimal results and delicious flavor!

Safety Precautions
Always ensure the bread machine is properly grounded to prevent electrical shock. Never immerse the appliance in water. Keep the cord away from hot surfaces during operation. Do not operate with a damaged cord or plug.
Exercise caution when handling the hot bread pan and paddle after baking. Allow the machine to cool completely before cleaning. Supervise children when the appliance is in use. Unplug when not in use and before cleaning.
Electrical Safety
Ensure your outlet voltage matches the machine’s specifications to avoid damage. Never operate the bread maker with a damaged power cord; replace it immediately. Avoid using extension cords if possible; if necessary, use a heavy-duty cord.
Do not insert any foreign objects into the appliance’s electrical components. Always unplug the machine before cleaning or performing maintenance. Keep the appliance away from water and other liquids to prevent shock.
Operating Safety
Always use oven mitts when handling the hot bread pan and paddle after baking. Never open the lid during the baking cycle, as escaping steam can cause burns. Ensure the machine is on a stable, heat-resistant surface during operation.
Do not exceed the maximum ingredient capacities specified in the manual. Keep children and pets away from the operating bread maker. Allow the machine to cool completely before storing.
Downloading Manuals Online
Access a wealth of West Bend bread machine manuals through online resources. Manualzz provides a searchable database for various models, including the 41073. Sears Parts Direct offers manuals and helpful diagrams for repairs and understanding your machine’s components.
These websites allow for easy PDF downloads, providing comprehensive guides for setup, operation, and troubleshooting. Finding your specific model number ensures you receive the correct documentation for optimal use and maintenance.
Manualzz and Sears Parts Direct
Manualzz stands out as a dedicated platform for locating West Bend bread machine manuals, offering a user-friendly search function to pinpoint your model – like the 41063 or 41073. Sears Parts Direct complements this by providing not only manuals but also detailed part diagrams.
Both sites facilitate easy PDF downloads, ensuring convenient access to instructions for operation, maintenance, and troubleshooting. Utilizing these resources empowers users to maximize their bread maker’s potential and address any issues efficiently.
Specific Model Manuals (Examples)
The West Bend 41073 manual provides comprehensive guidance for its users, detailing control panel functions and basic bread-making steps. Similarly, the West Bend 47413 User Manual, available online, offers insights into its unique features and operation.
Older models, such as the 41040, also have accessible instruction manuals containing vital safety precautions and recipes. These resources are invaluable for understanding specific model capabilities and ensuring optimal performance.
West Bend 41073 Manual
The West Bend 41073 manual, readily available for PDF download, details the 1.5 lb. bread maker’s operation. It covers essential aspects like the control panel, ingredient order, and cycle selection.
Users will find instructions for the burn-off cycle, bread pan assembly, and troubleshooting common issues. This manual emphasizes safety precautions and provides a foundation for successful bread making with this specific model, ensuring delicious results.
West Bend 47413 Manual
The West Bend 47413 manual, accessible online, provides comprehensive guidance for operating this bread maker. It details control panel functions and basic bread-making steps, including cycle selection for various bread types.
Users can expect clear instructions on ingredient measurement, troubleshooting kneading problems, and ensuring proper rising. This resource offers an estimated reading time of 34 minutes, equipping bakers with the knowledge to consistently produce quality loaves.
Finding Replacement Parts
Sears Parts Direct is a valuable resource for locating replacement parts for your West Bend bread machine. They offer a wide selection of components, alongside helpful manuals and detailed part diagrams.
Whether you need a new bread pan, paddle, or other essential parts, Sears Parts Direct simplifies the repair process. Their website allows you to search by model number, ensuring compatibility and a successful fix for your appliance.
West Bend Bread Maker Recipes
Unlock a world of baking possibilities with West Bend bread maker recipes! Start with a Basic White Bread recipe for a classic loaf, or explore the wholesome goodness of a Whole Wheat Bread recipe.
Many manuals, including those found on Manualzz, include recipe sections to guide you. Experiment with flavors and ingredients to create custom loaves tailored to your preferences, enjoying fresh-baked bread effortlessly.
Basic White Bread Recipe
For a classic loaf, combine 1 ¼ cups warm water, 3 cups bread flour, 2 tablespoons sugar, 1 ½ teaspoons salt, and 2 ¼ teaspoons active dry yeast in your West Bend bread machine pan.
Select the “Basic” cycle and press start. Refer to your machine’s manual (available on Manualzz) for specific timing. Enjoy a perfectly baked, delicious white bread – a staple for sandwiches and toast!
Whole Wheat Bread Recipe
To create a nutritious whole wheat loaf, combine 1 cup warm water, 1/4 cup molasses, 2 tablespoons vegetable oil, 1 ½ teaspoons salt, 1 cup whole wheat flour, and 1 ¾ cups bread flour in the bread pan.
Add 2 ¼ teaspoons active dry yeast. Choose the “Whole Wheat” cycle on your West Bend machine – consult Sears Parts Direct for model specifics. Enjoy a hearty, flavorful bread perfect for any meal!